Want to run Ubuntu on your Windows system without deleting your existing OS? A virtual machine allows you to do exactly that. In this guide, you’ll learn step-by-step how to install and run Ubuntu using a virtual machine.
What is a Virtual Machine?
A virtual machine works by creating a separate, virtual environment within your computer where another operating system can run independently. In this case, you will install Ubuntu inside that virtual environment while your Windows system continues to run in the background.
Why use a Virtual Machine for Ubuntu?
This approach is especially useful for beginners because it allows you to learn and experiment freely without worrying about making mistakes that could harm your system.
What you will learn in this guide?
From downloading the required software to setting up the virtual machine and completing the installation process, everything will be explained clearly.
By the end of this guide, you will have a fully working Ubuntu system running on your Windows PC, ready for learning, development, or everyday use.
Step-by-Step Guide
In this step-by-step guide, you will learn how to install and run Ubuntu on a virtual machine using easy and beginner-friendly instructions.
Step 1: Download VirtualBox
Go to VirtualBox official website (https://www.virtualbox.org/wiki/Downloads)
• Download Windows Host version (selecting the windows hosts because I am currently using the windows.)
• Install it like normal software

Step 2: Install VirtualBox
• Open the downloaded setup file
• Click Next on each step
• Keep default settings (no changes needed)
• Click Install and wait for completion
Step 3: Download Ubuntu ISO File
• Go to Ubuntu official website
• Select the Ubuntu version (Ubuntu 25.10)
• Download the .iso file
• Save it in an easy-to-find location

Step 4: Open VirtualBox and Create New VM
• Launch VirtualBox
• Click on the New button
• Start creating a new virtual machine

Step 5: Naming the VM and ISO Selection
• Choose a location/folder to save VM files (use default or select a drive with space)
• Set Type to: Linux
• Set Version to: Ubuntu (64-bit)
• Select the Ubuntu ISO image file (this is the OS installation file)
• Click Next to continue

Step 6: Unattended Guest OS Installation Setup
In this step, you set up automatic login details for your virtual machine so the installation becomes faster and easier.
- Name: Enter your username (this will be used for Ubuntu login)
- Password: Set a secure password for your account
- Confirm Password: Re-enter the same password for verification
- Host Name: ubuntu (this is the name of your virtual machine)
- Domain Name: myguest.virtualbox.org (default VirtualBox domain for the VM network)

Step 7: Configure Virtual Machine Hardware Settings
In this step, you assign system resources to your virtual machine for smooth performance.
- Base Memory (RAM): Set to 2048 MB (2 GB) for Ubuntu
- Processors (CPU): Choose the number of CPU cores (recommended: 2 cores if available)
- Hard Disk Size: Set storage to 25 GB for installing Ubuntu and applications
- EFI (Optional): Leave default

Step 8: Ubuntu Installation Options (Setup Screen)
In this stage, you go through the main installation settings of Ubuntu.
• Language Selection: Choose your preferred language (e.g., English)

• Interactive Installation: Select Interactive Installation to manually guide the setup process

• Default Applications: Keep the default selection unless you want custom apps

• Third-Party Software: Enable Install third-party software for graphics and Wi-Fi hardware (recommended for better performance and drivers)

• Disk Setup: Choose Erase disk and install Ubuntu (this only affects the virtual disk, not your real PC)

Step 9: Create Your User Account (Ubuntu Setup)
In this step, you create your personal account for logging into Ubuntu.
• Your Name: Enter your full name (or any preferred name)
• Computer Name: Set a name for your system (e.g., maryam-VirtualBox)
• Username: Choose a login username (e.g., maryam)
• Password: Create a strong password for your account
• Confirm Password: Re-enter the same password to confirm
After filling in all details, click Next to continue the installation process.

Step 10: Installation and Restart
• Click on Install to start the Ubuntu installation process
• Wait while the system copies files and installs necessary components (this may take a few minutes)
• Once installation is complete, click Restart Now
• The virtual machine will reboot and load the newly installed Ubuntu system


Step 11: First Boot of Ubuntu (After Installation)
• After clicking Restart Now, the system reboots
• Ubuntu loading screen appears for the first time
• System completes initial startup configuration

Step 12: Login Screen Appears
• Login screen is shown with your username (e.g., Maryam)
• Select your account if needed
• Enter your password carefully
• Press Enter or click Sign In


Step 13: First Successful Login
• Ubuntu takes a few seconds to load your desktop
• First-time setup files are configured automatically
• Desktop environment starts preparing
Step 14: Welcome Screen (Ubuntu Setup)
• A screen appears: “Welcome to Ubuntu 25.10”
• It shows introduction slides and setup options
• You can click Next or Skip


Step 15: Get Started Screen
• “Get Started” or “More Applications” screen appears
• It suggests useful apps and features
• You can explore or close it

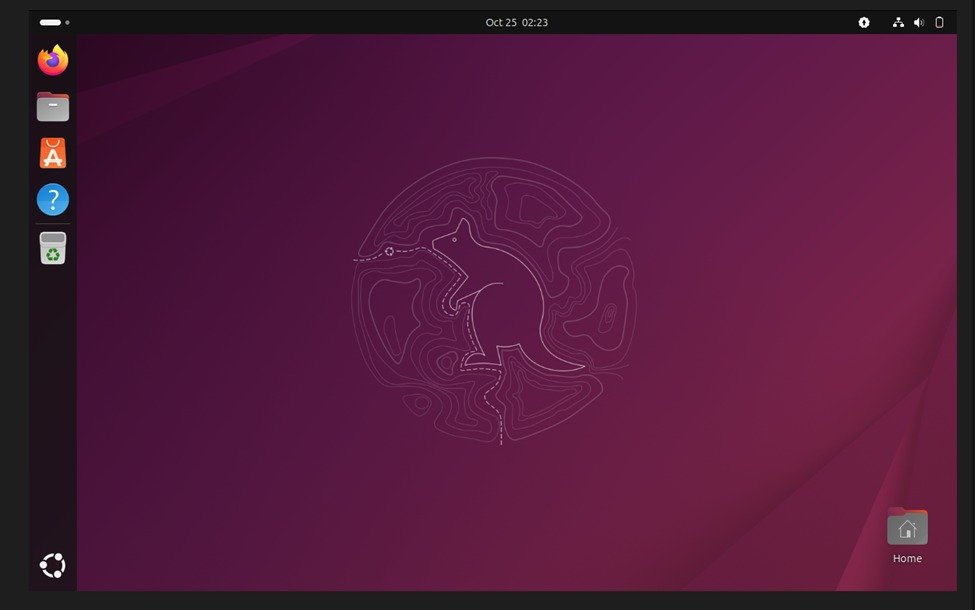
Step 16: Ubuntu Desktop Ready
• Full Ubuntu desktop is now visible
• You can see file manager, apps, and system panel
• System is now fully ready to use


Now you have successfully installed and set up Ubuntu on VirtualBox step by step. By following this guide, even beginners can easily run Ubuntu without affecting their main operating system. This setup in Oracle VM VirtualBox allows you to safely use Ubuntu for learning, practice, and development.
I hope this guide helped you. If you face any issues during installation, feel free to revisit the steps carefully or ask for help in the comments.
Happy learning!
💬 Comments (1)
Good Article Great Work Maryam Keep it up
📝 Leave a Comment